

Contents
- What does this integration do?
- Example Image
- Select a template in Supportivekoala's template library
- Edit Template
- Get your Supportivekoala API key
- Make a Zap
- Set Trigger
- Create Image in Supportivekoala
- Publish photo to the Instagram feed
This tutorial will teach how to auto-generate promotional graphics each time you add a new product to your Shopify store.
Promotional images can be a very valuable asset to your Shopify online store. You need some good creative content to advertise your products. If used correctly, they're a golden opportunity to showcase your products and get more sales!
What does this integration do?
This tutorial will teach how to auto-generate promotional graphics each time you add a new product to your Shopify store.
You will send info between Bannerbear and Shopify automatically using Zapier. As your Shopify product catalog grows, Bannerbear will automate processes to create marketing assets from your product catalog data.
Example Image

Select a template in Supportivekoala's template library
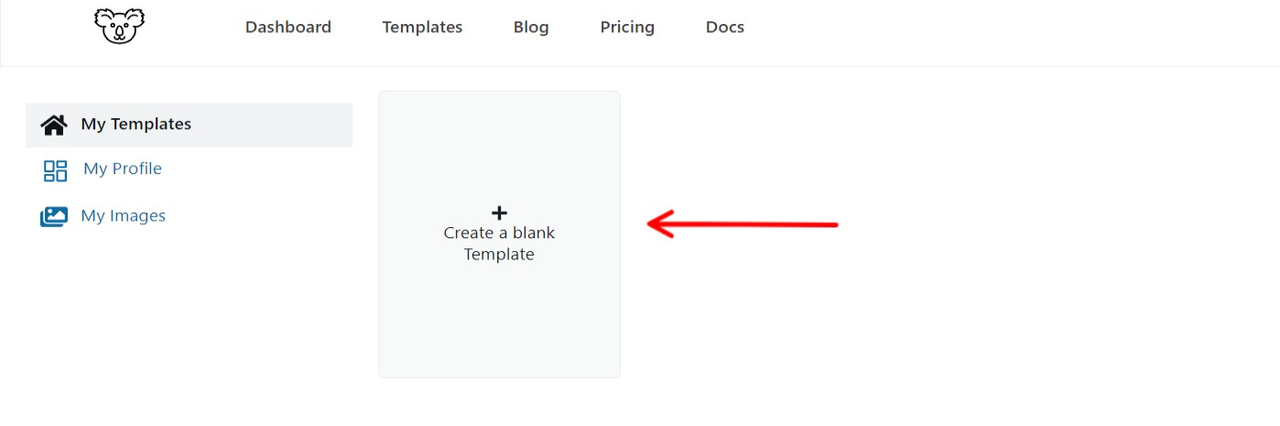
For this tutorial, we will modify an existing template. Click Create a template to choose a template that fits the use case.
Suppportivekoala allows the flexibility of customizing an existing template, adjusting the layout, adding layers, objects, colors, fonts, etc.
Alternatively, you can choose to Create a Template from scratch.
Edit template
For this tutorial, we will use the Shopify template:
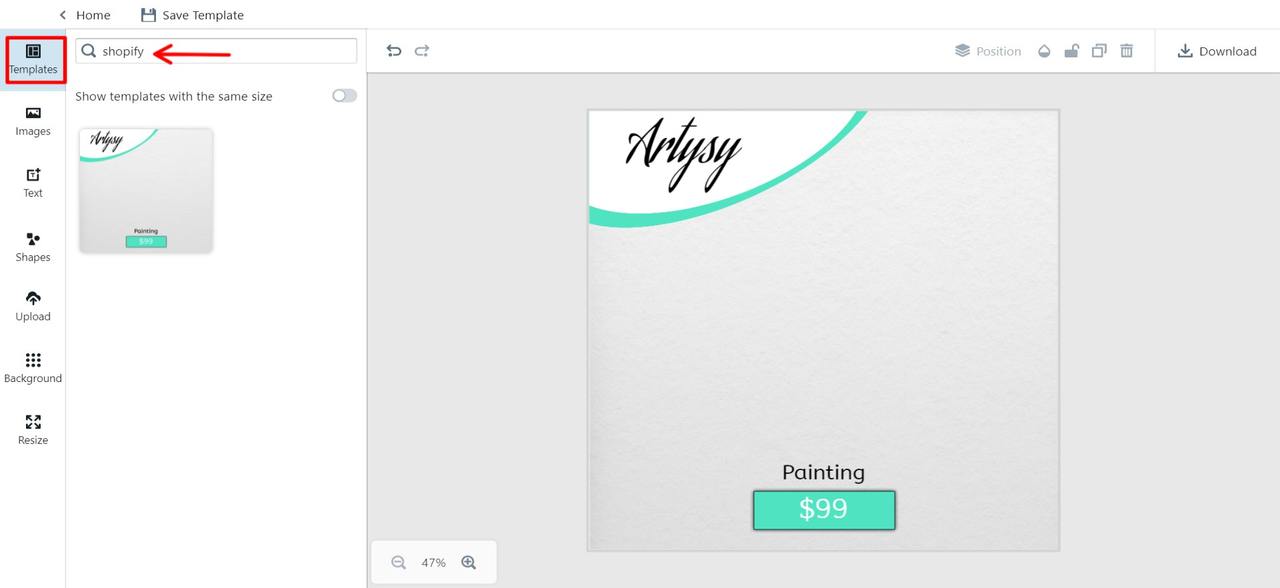
Click on Templates and search for shopify and select the template shown in the results.
Select each layer and rename the 4 layers. This will help when the template layers are matched with Shopify data on Zapier.
-
Logo
-
Product image
-
Name (Product Name)
-
Price
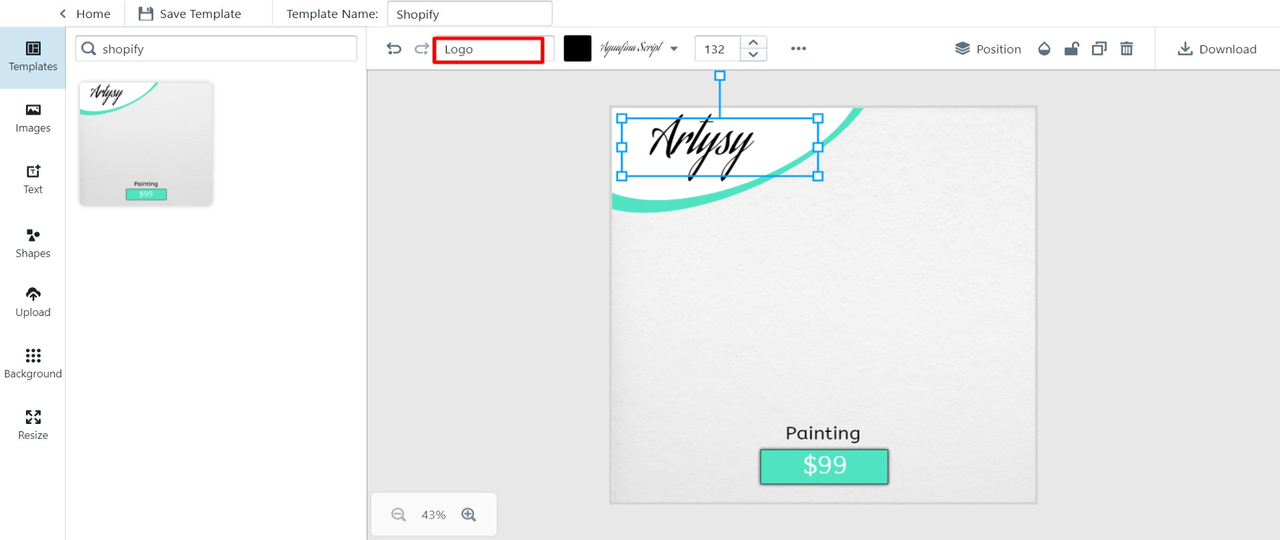
You can rename the layer using the text box.
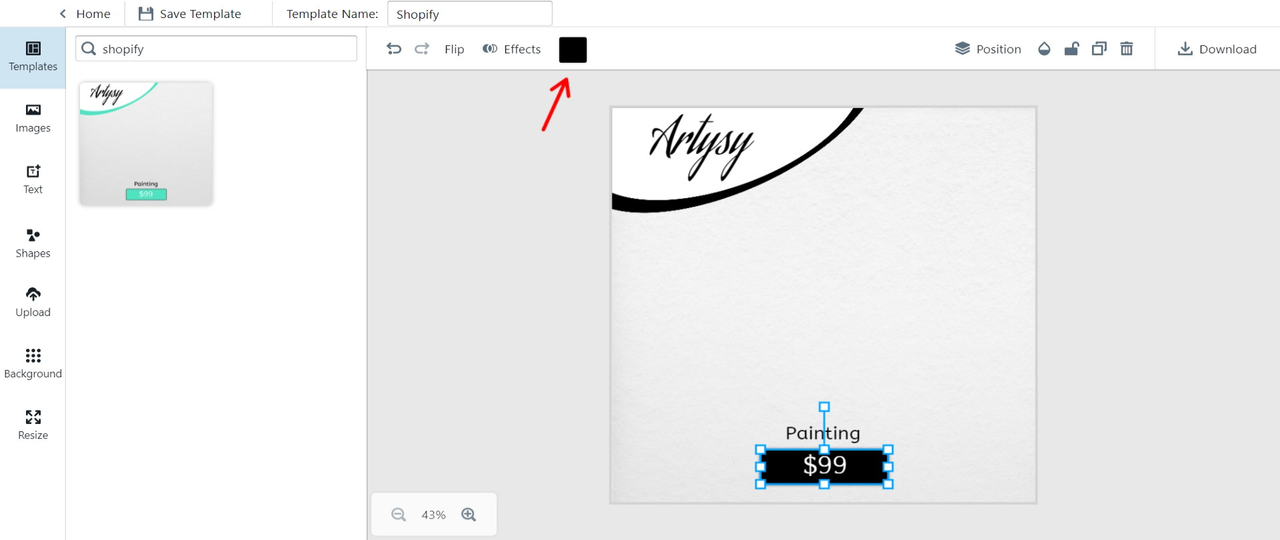
Next, replace the placeholder logo and colors in line with your brand identity. This will keep your logo and colors consistent across all images.
Save Template.
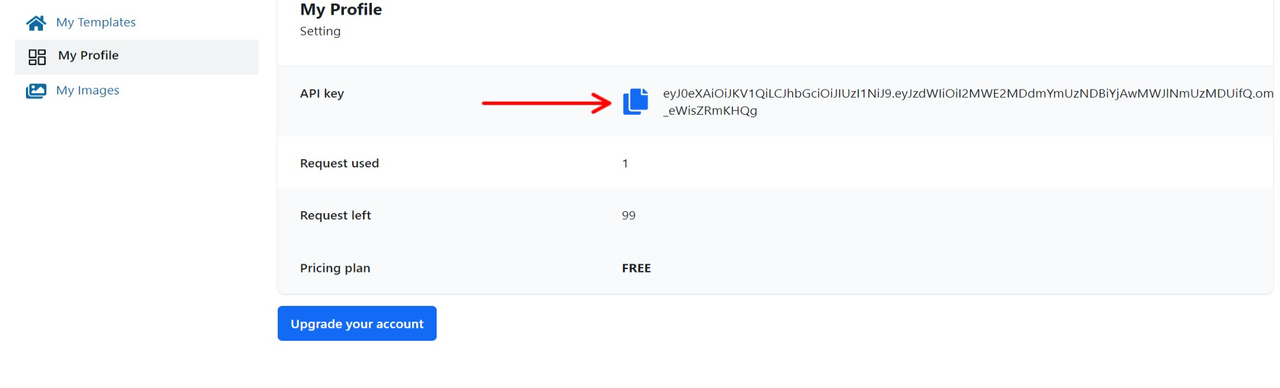
Get your Supportivekoala API Key
You will need your Supportivekoala API key at a later stage to authenticate with Zapier. The API key is found in My Profile
Connect Supportivekoala and Shopify using Zapier
Now we can integrate Zapier with your Supportivekoala account to automatically generate images.
You will need to:
- Connect your Shopify account
- Create an image with Supportivekoala using the API Key
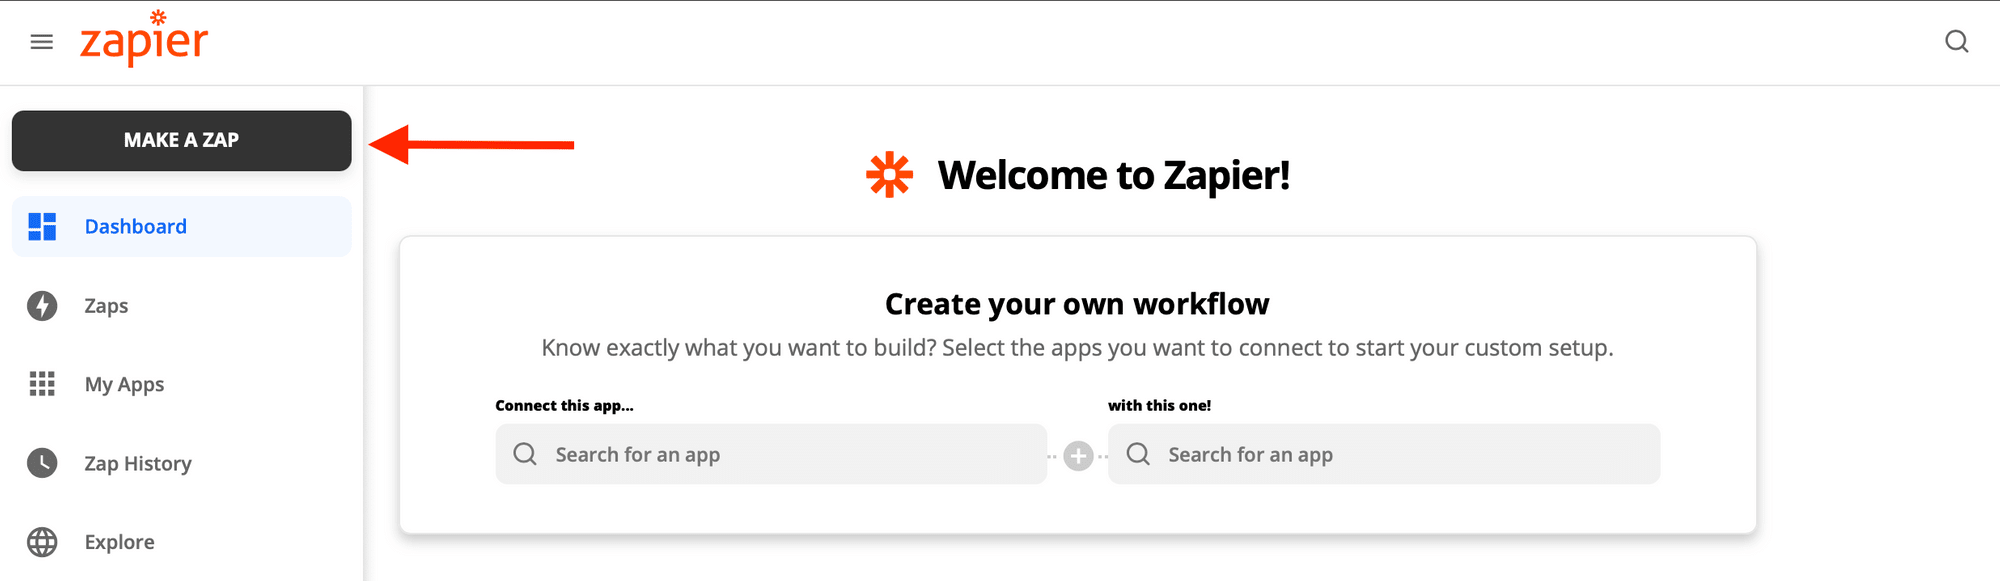
Make a Zap
Log in to your Zapier account and Make A Zap.
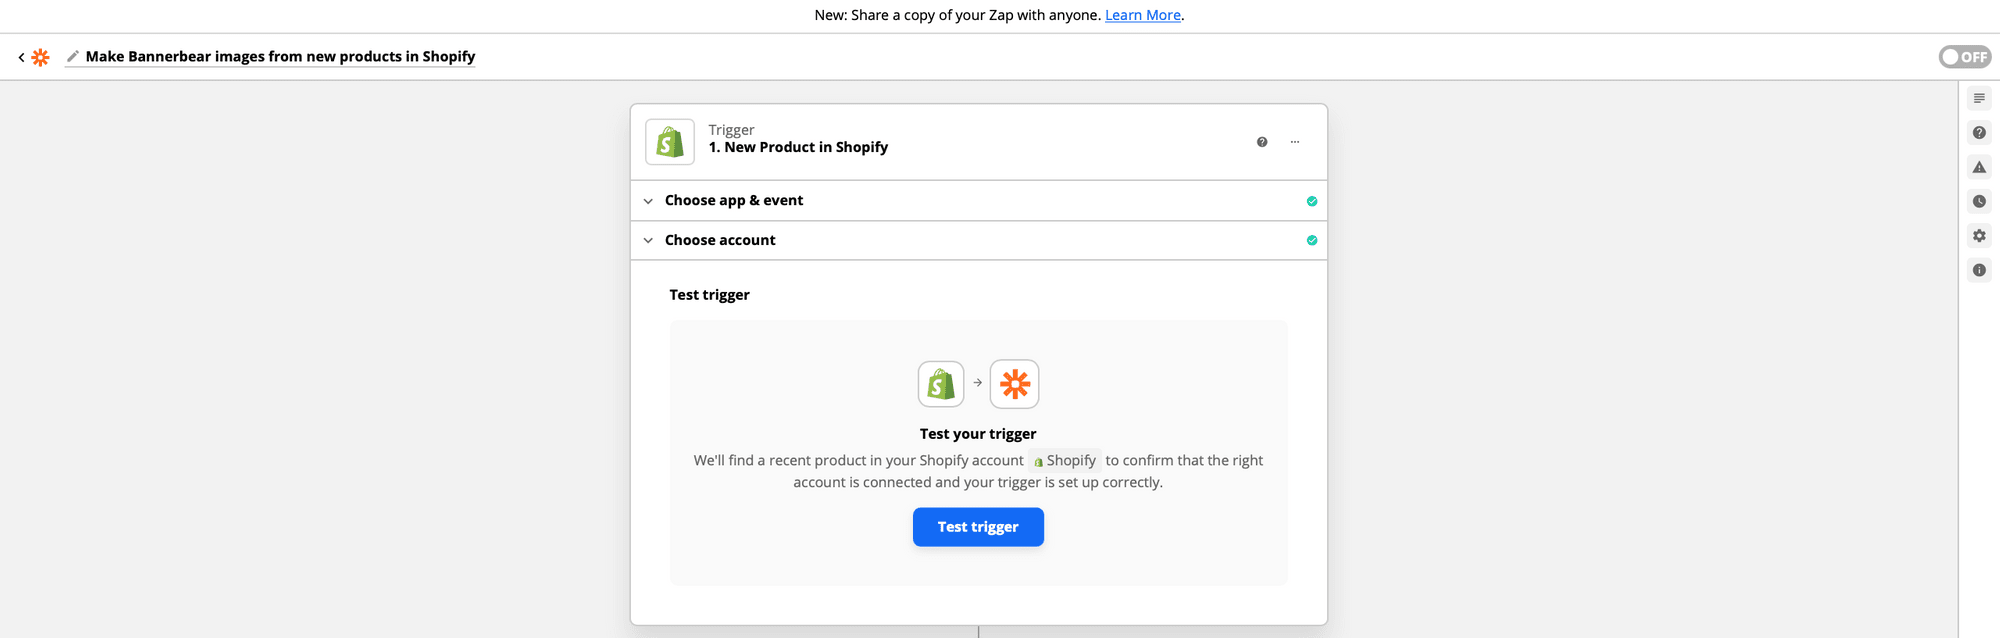
Set Trigger
We will set a trigger so when a new product is created in Shopify, it will kick off the automation of a new image.
Choose Shopify as the app to be connected to and select New Product as the trigger event.
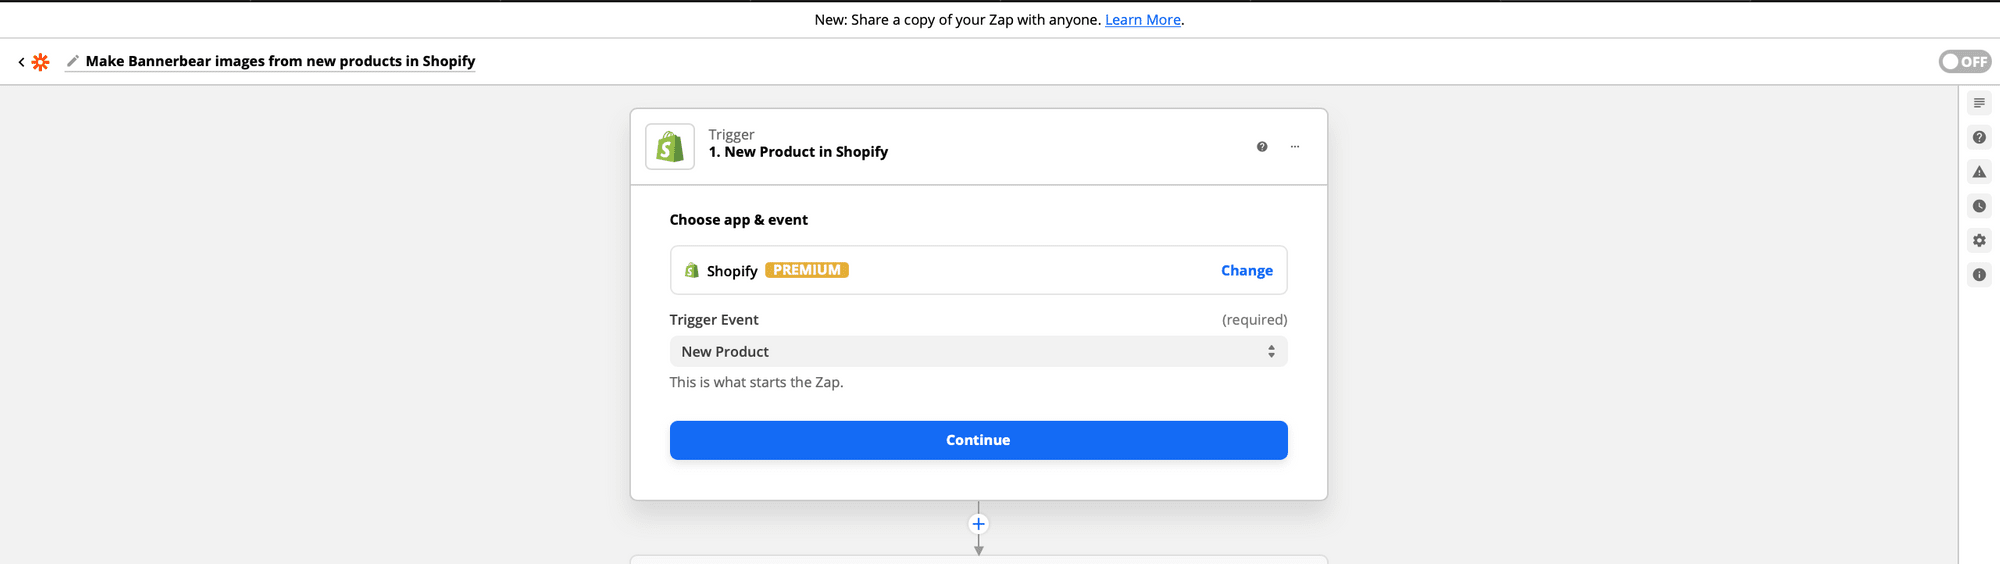
Hit continue.
The next step allows connecting your Shopify account. Enter your Shopify username:
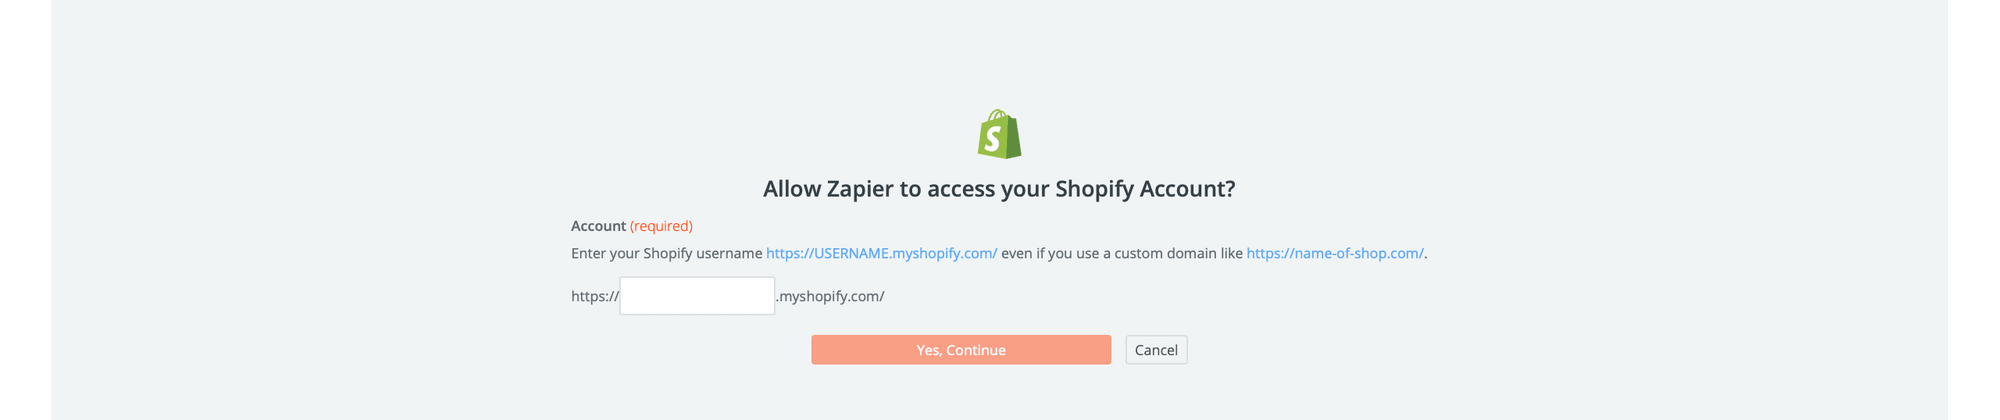
Click Yes, Continue.
Install the app to authorize Zapier access to your Shopify account:
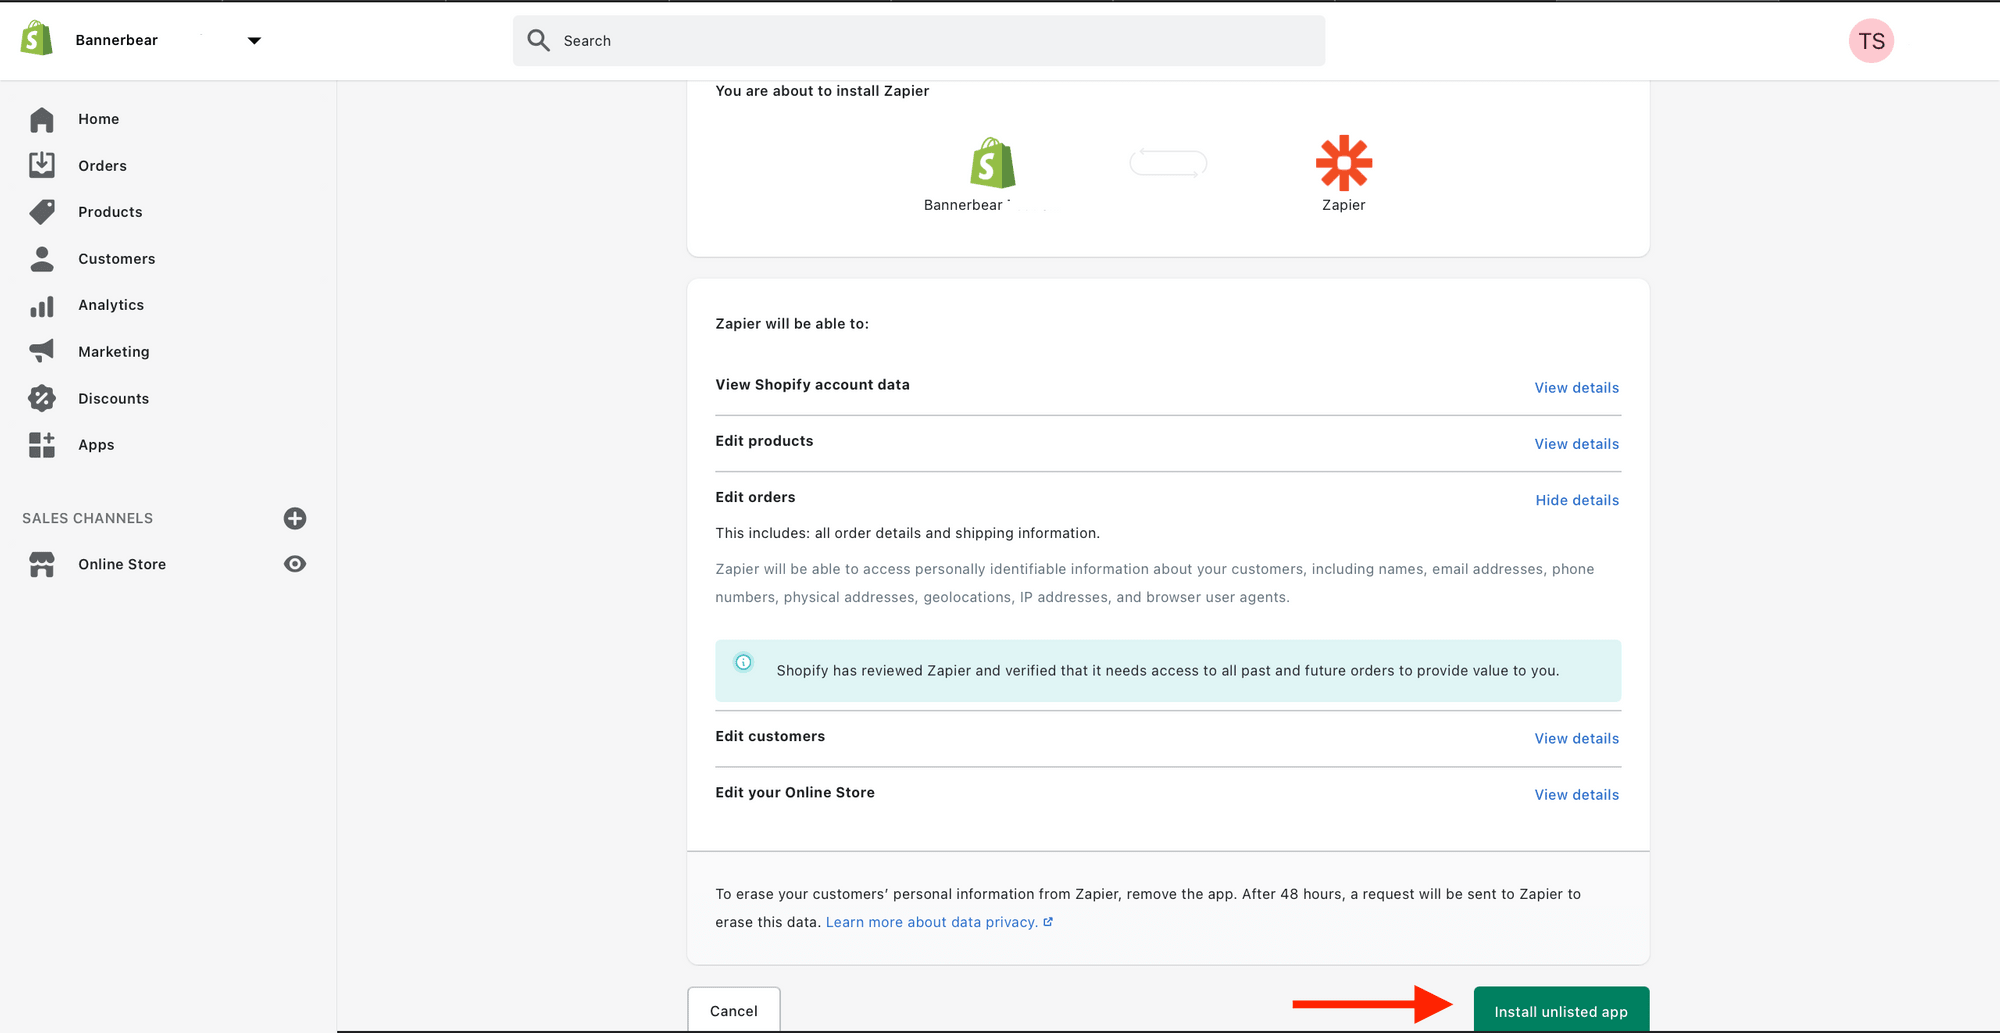
After installation, you will be redirected to Zapier to continue the action.
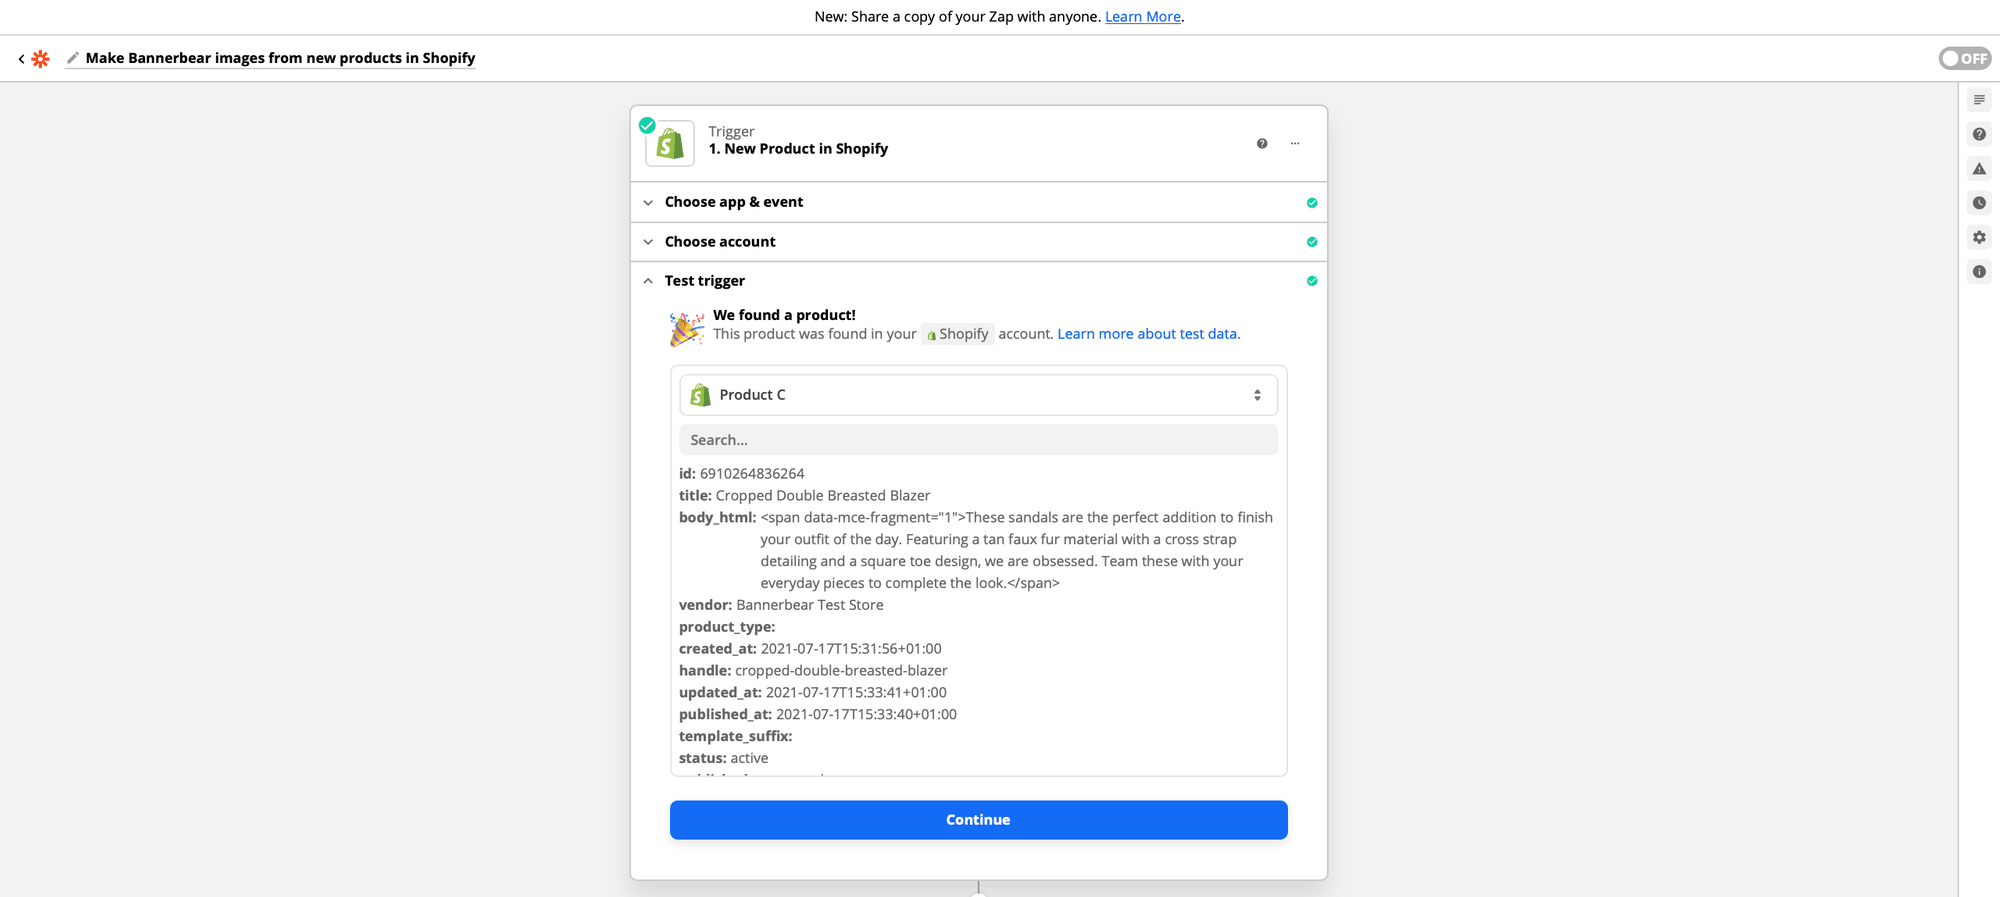
Test trigger:
Hit continue :
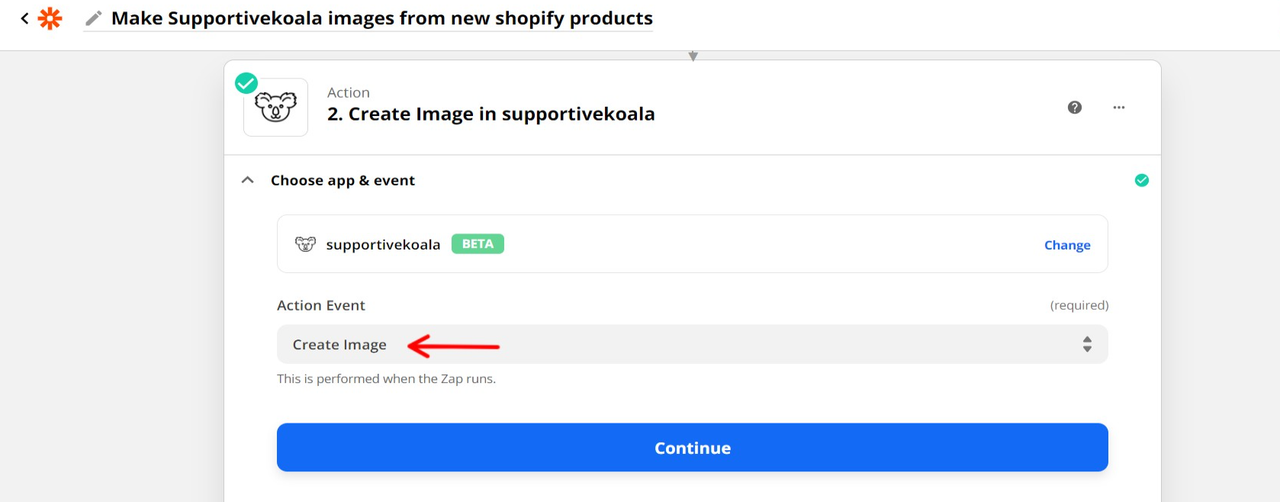
Create image in Supportivekoala
An action is an event a Zap performs after it starts. This will push a resulting action from Shopify to Supportivekoala.
Choose Supportivekoala as the app and select Create image as the action event:
Sign in to Supportivekoala :
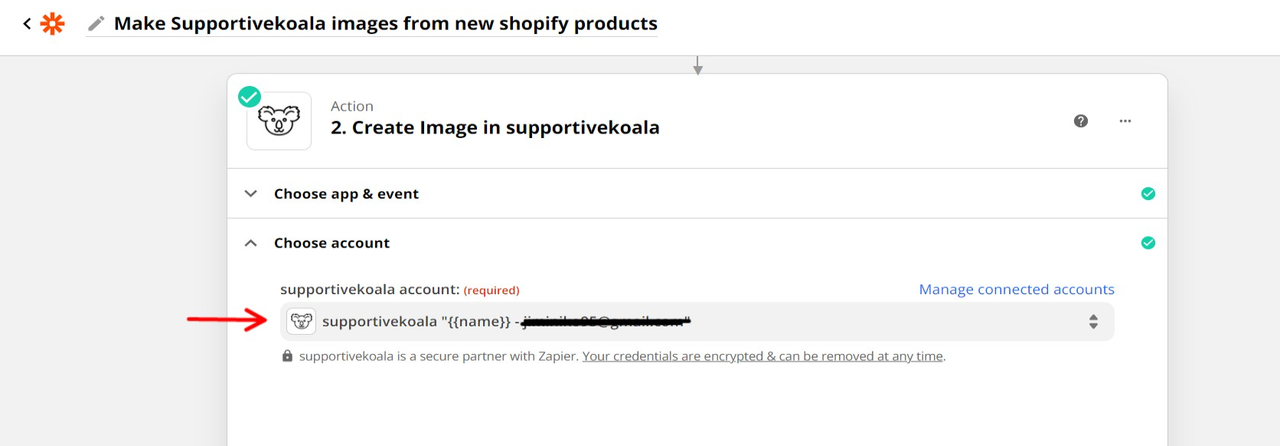
Hit continue. Connect your Supportivekoala account by pasting your API key retrieved earlier to allow Zapier to access your Supportivekoala account.

Input the API key and click Yes, Continue.
Select the template ID. Zapier will load the template settings. The fields we need to populate are:
- Product image
- Name (Product Name)
- Price
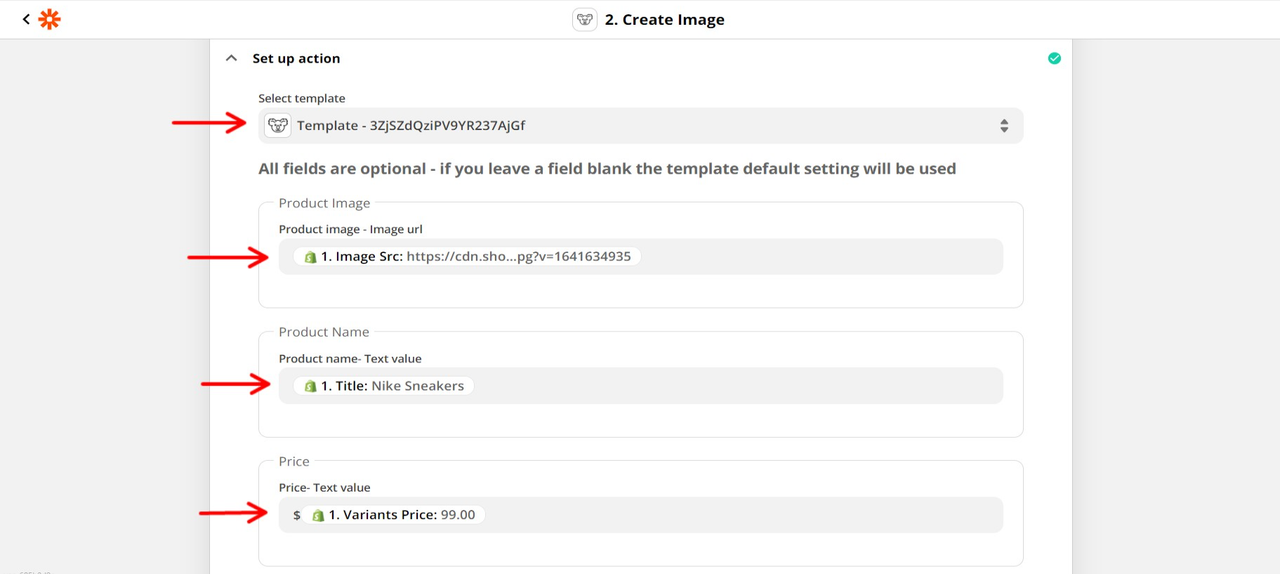
Add the currency sign $ before the Variants Price:
Test & Review
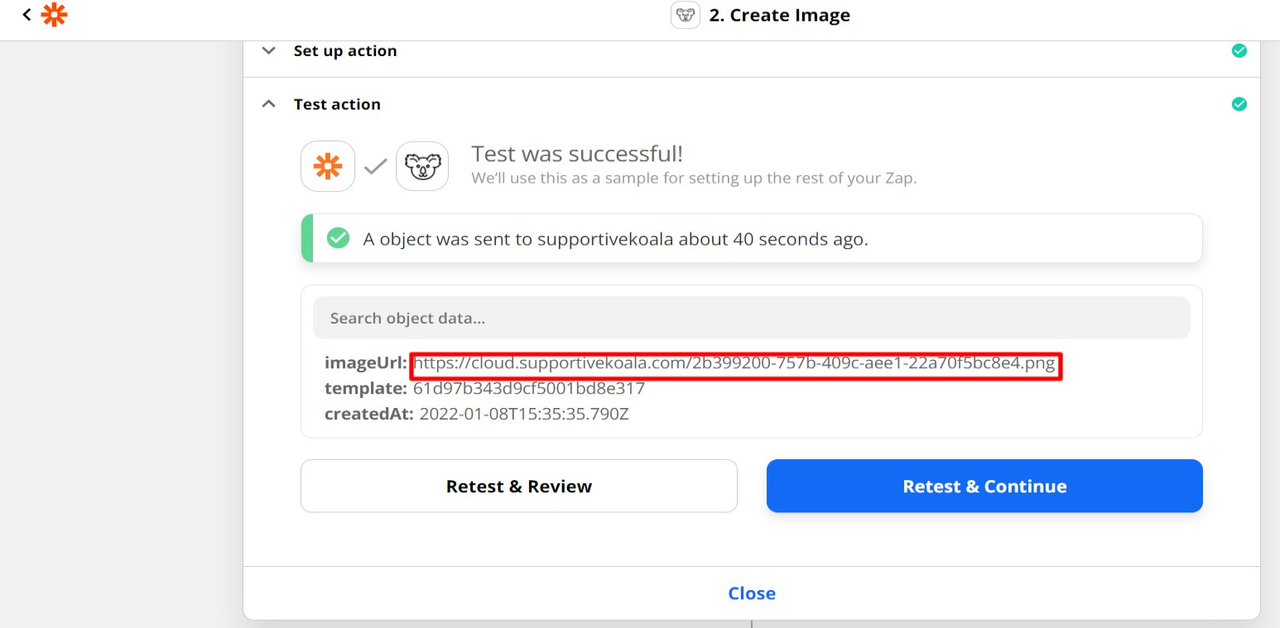
Copy the image_url to your browser to preview the generated image
Publish photo to Instagram feed
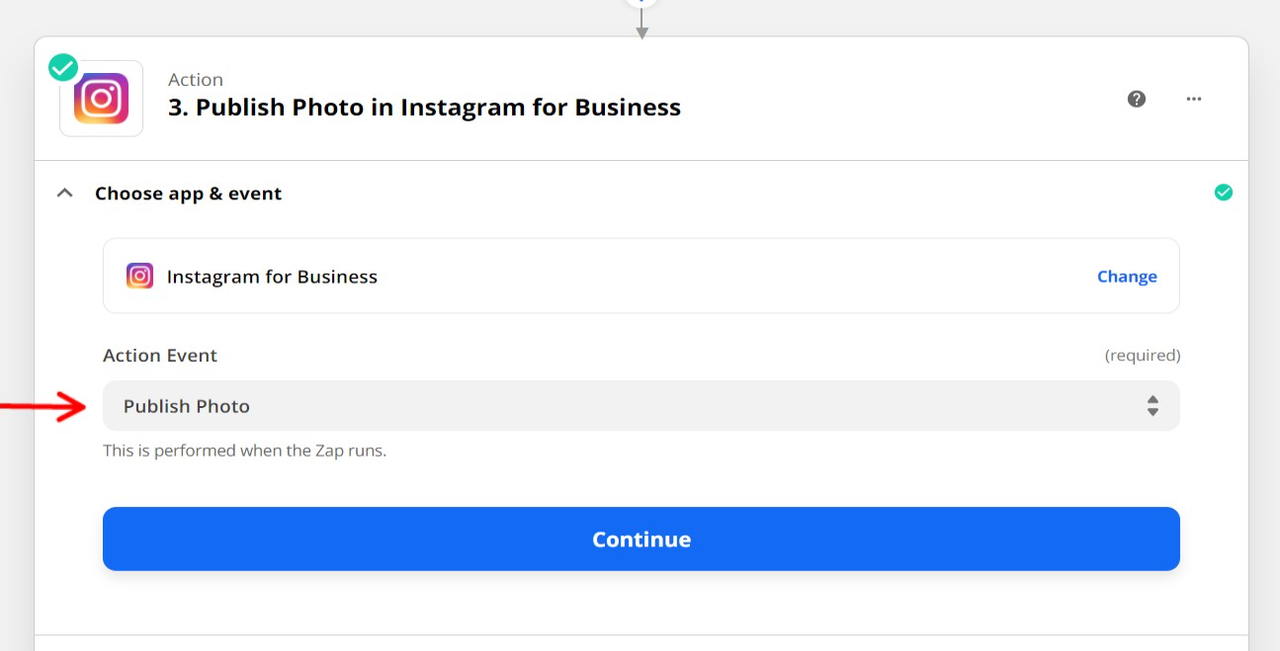
Create an action to be performed when the Zap runs. Note that this will only work for an Instagram Business Account and not a Personal or Creator Account.
Choose Instagram for Business as the app and select Publish Photo as the action event.
Hit continue:
Log in to use your Facebook account with Zapier.
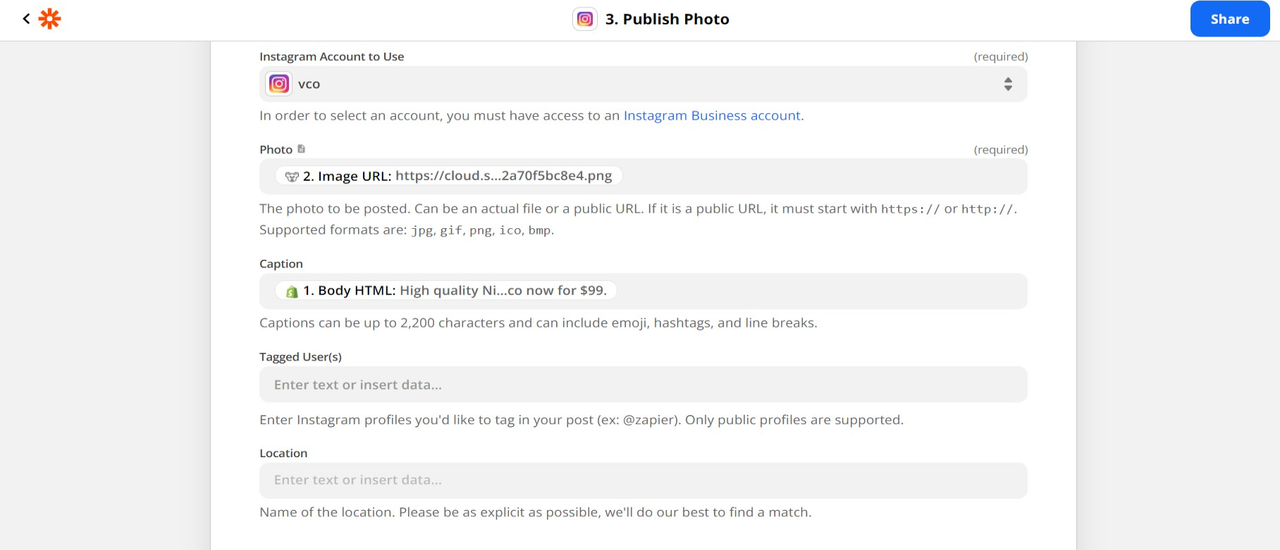
After connecting your Instagram for Business account, you will be prompted to populate the fields to set up the action.
- Pull the Image URL from Supportivekoala
- Pull the Caption from Shopify
Hit continue:
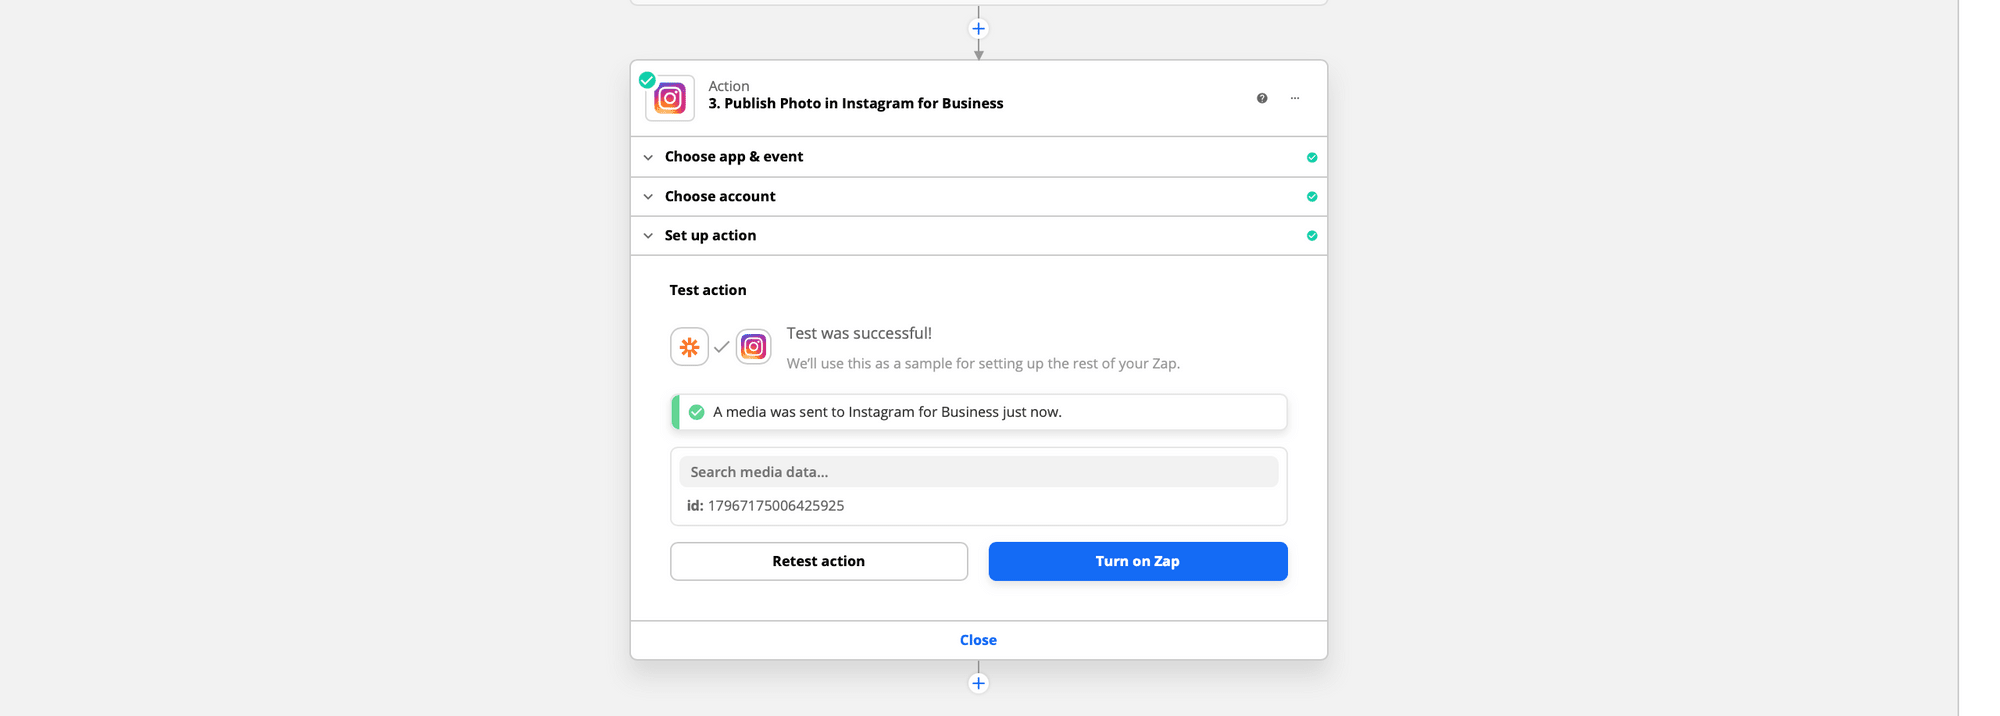
A media will be sent to Instagram for Business. Visit your page to preview media. Turn on Zap!
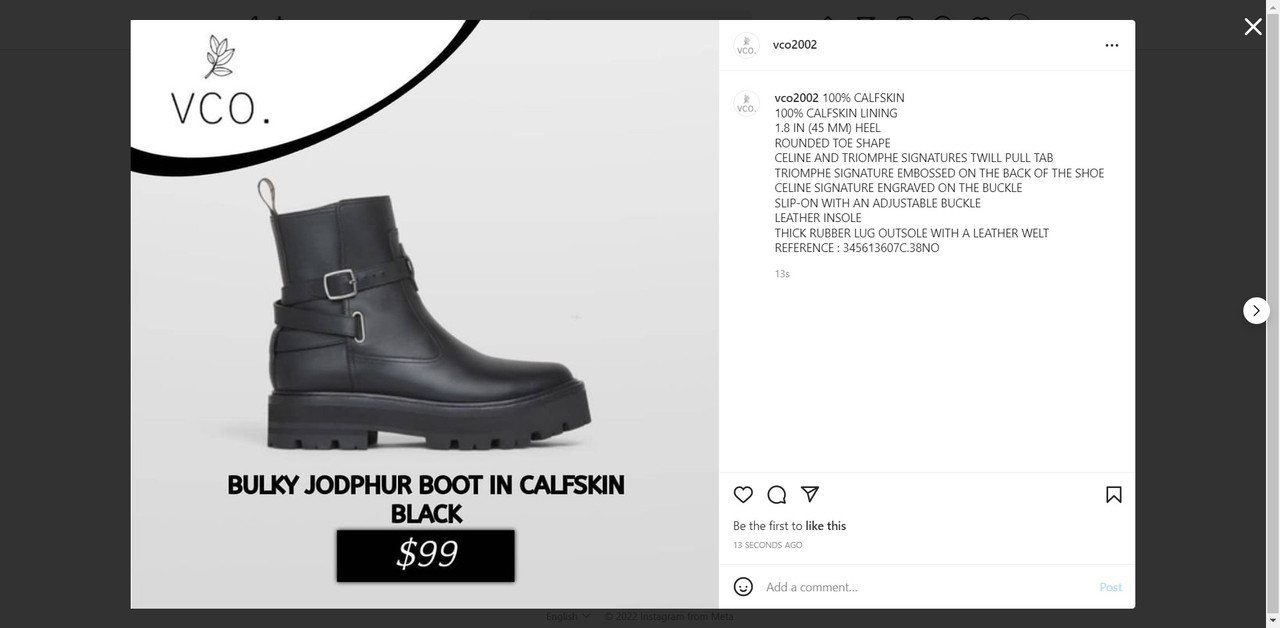
Viola!
Every time a new product is added, Supportivekoala will generate dynamic images for new products using the product name, company logo, and multiple product images.
You can add another action to push data to different templates.