
Contents
- About this tutorial
- Set up a new trigger
- Set up a new table in Airtable
- Connect Zapier To Supportivekoala
- Copy your Project API Key
- Pass data to the template
- Update table row in Airtable
About this tutorial
In this tutorial we are going to set up a simple automated zap that Automatically generates images with text highlights on them in Airtable table
Set Up A New trigger
Open up Zapier.
In Zapier, create a new Zap and for the app and trigger choose New or Updated Record :
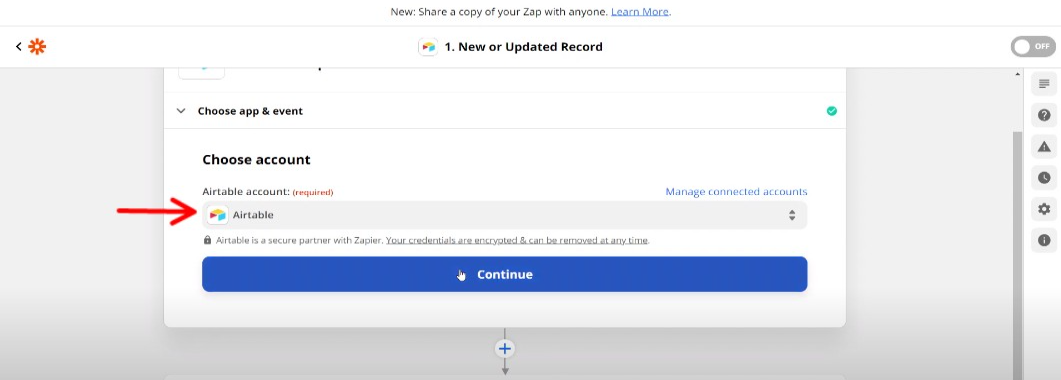
At this point if you haven't already, you will have to connect your Airtable account with Zapier.
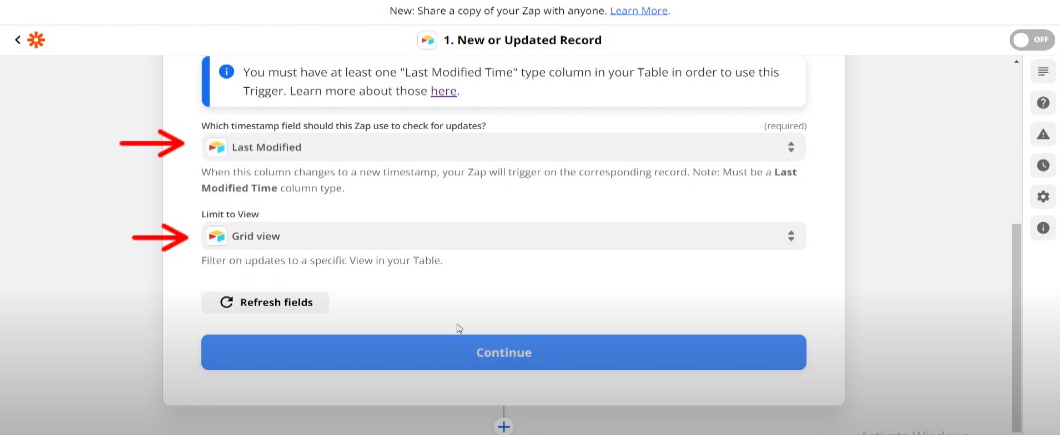
Save the Zap trigger step and move to the action step.
Set up a new table in Airtable

Create 3 different columns:
1 image URL
2 text
3 result
These three columns are important. so, don't forget to set it up.
Connect Zapier with Supportivekoala
As the next app in the Zapier workflow, choose Supportivekoala and the Create Image action:
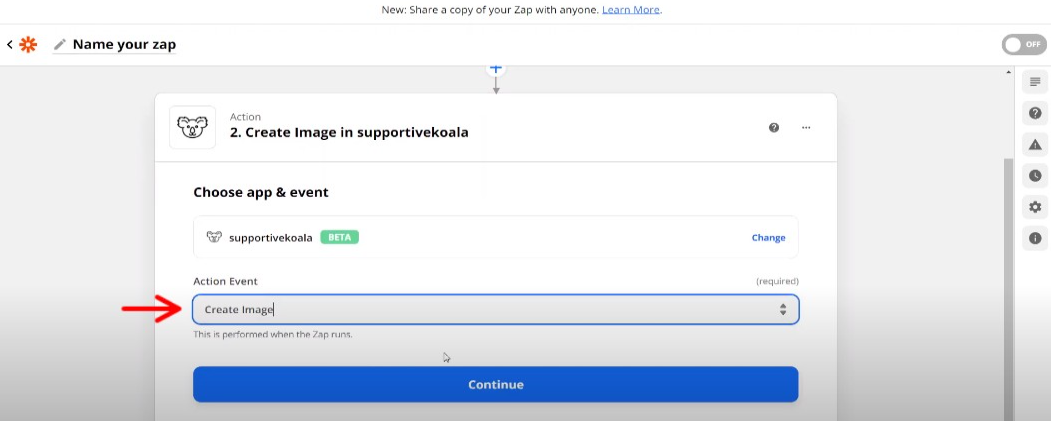
Copy Your Project API Key
Go to your profile and click the Settings / API Key to get your API key which you will need in the next step:

When prompted, you will need to connect Zapier to Supportivekoala using the Project API Key that you copied earlier:

Pass Data To The Template
If Zapier is able to connect successfully to Supportivekoala, you should see a dropdown of all your project's templates. Select a template, you can choose any templates in supportivekoala's template library or create your own and the template details will load:
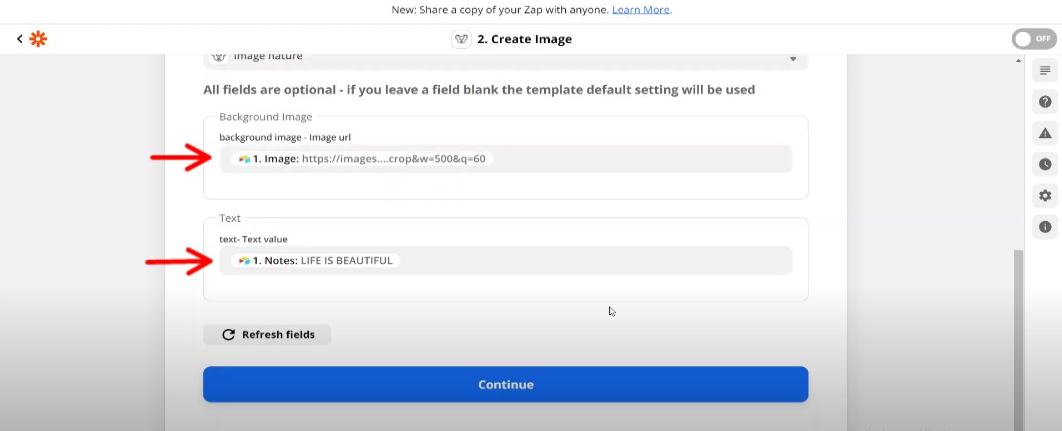
Choose image URL for background image, notes for text

Don't turn on your zap yet, and click on back to setup
Update record in Airtable
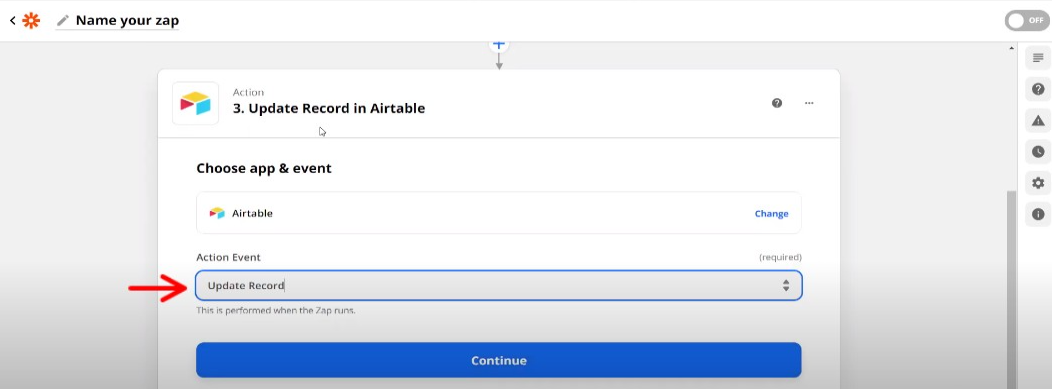
Now, all you need to do is to update the record in Airtable
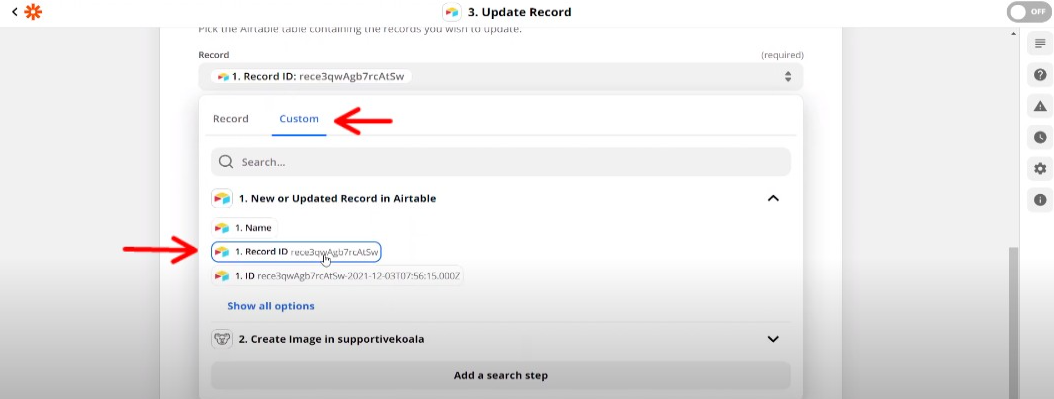
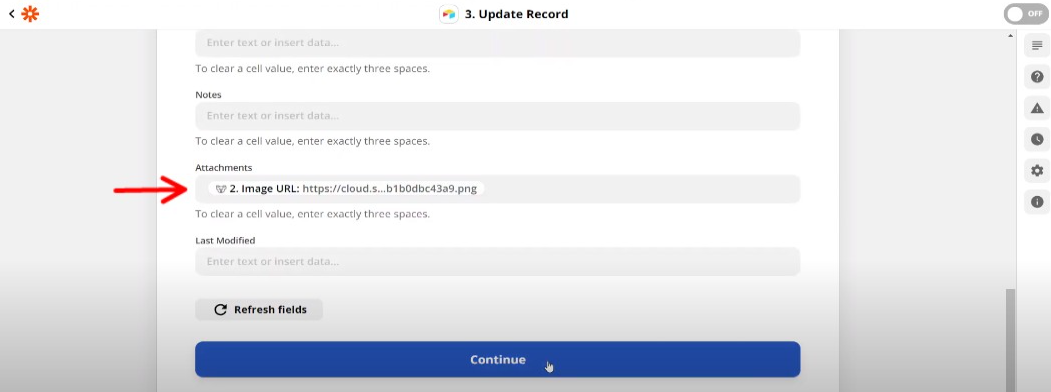
Choose image URL from Supportivekoala for attachments and click on continue
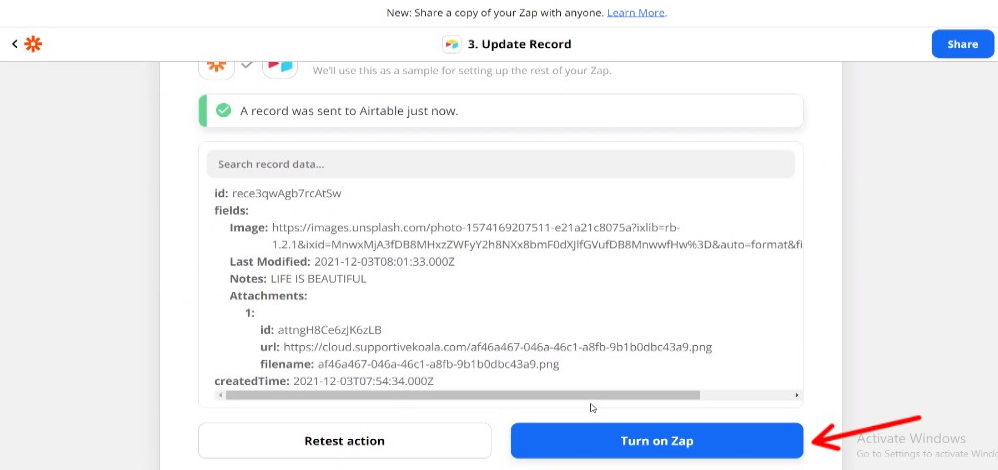
Turn on zap after you complete the test.

Go back to Airtable to see the image result in the attachments column. click on it to view the image.
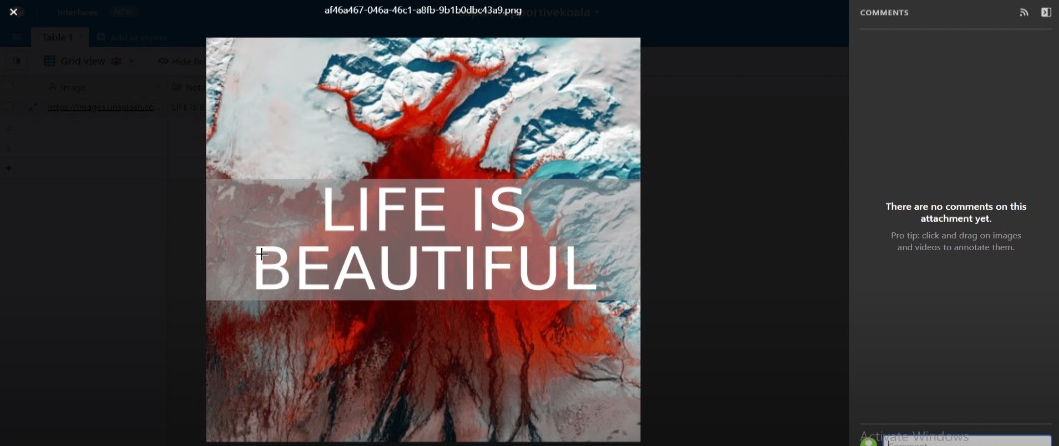
There you have it!

Next, you can simply just put image URLs and texts in the image and notes columns and you'll automatically get the results.
